

 Labels let you tag groups of objects for easier searching and filtering. For example, you can label compromised assets with the default Owned label to quickly identify attack paths from non-compromised to compromised assets in your environment.
The Owned label represents objects that have been compromised in your environment. You can tag objects with the Owned label using rules or manually in the graph.
Labels let you tag groups of objects for easier searching and filtering. For example, you can label compromised assets with the default Owned label to quickly identify attack paths from non-compromised to compromised assets in your environment.
The Owned label represents objects that have been compromised in your environment. You can tag objects with the Owned label using rules or manually in the graph.
Unlike zones, BloodHound does not use labels in risk analysis—they’re designed to help you organize and query your data.
- Summary View
- Details View
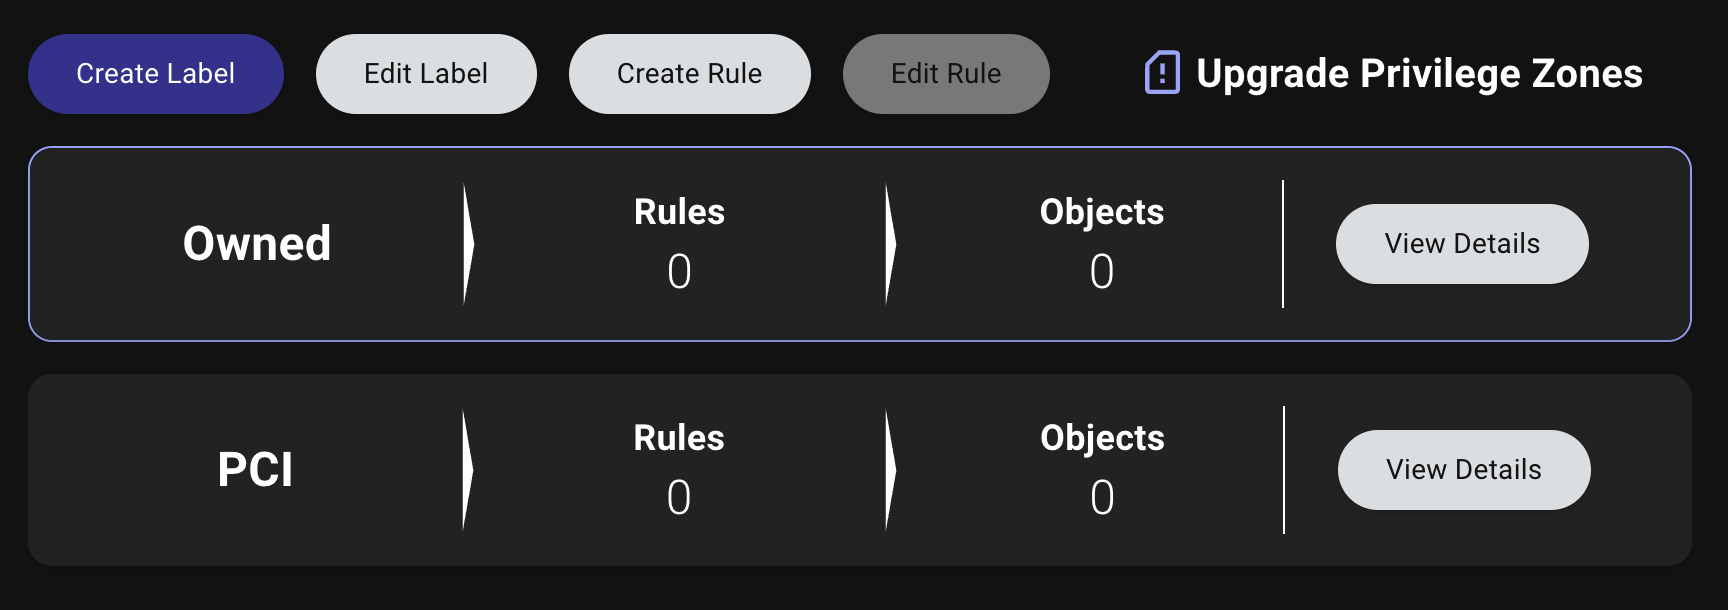
The Summary View shows label names, rule counts, and object counts.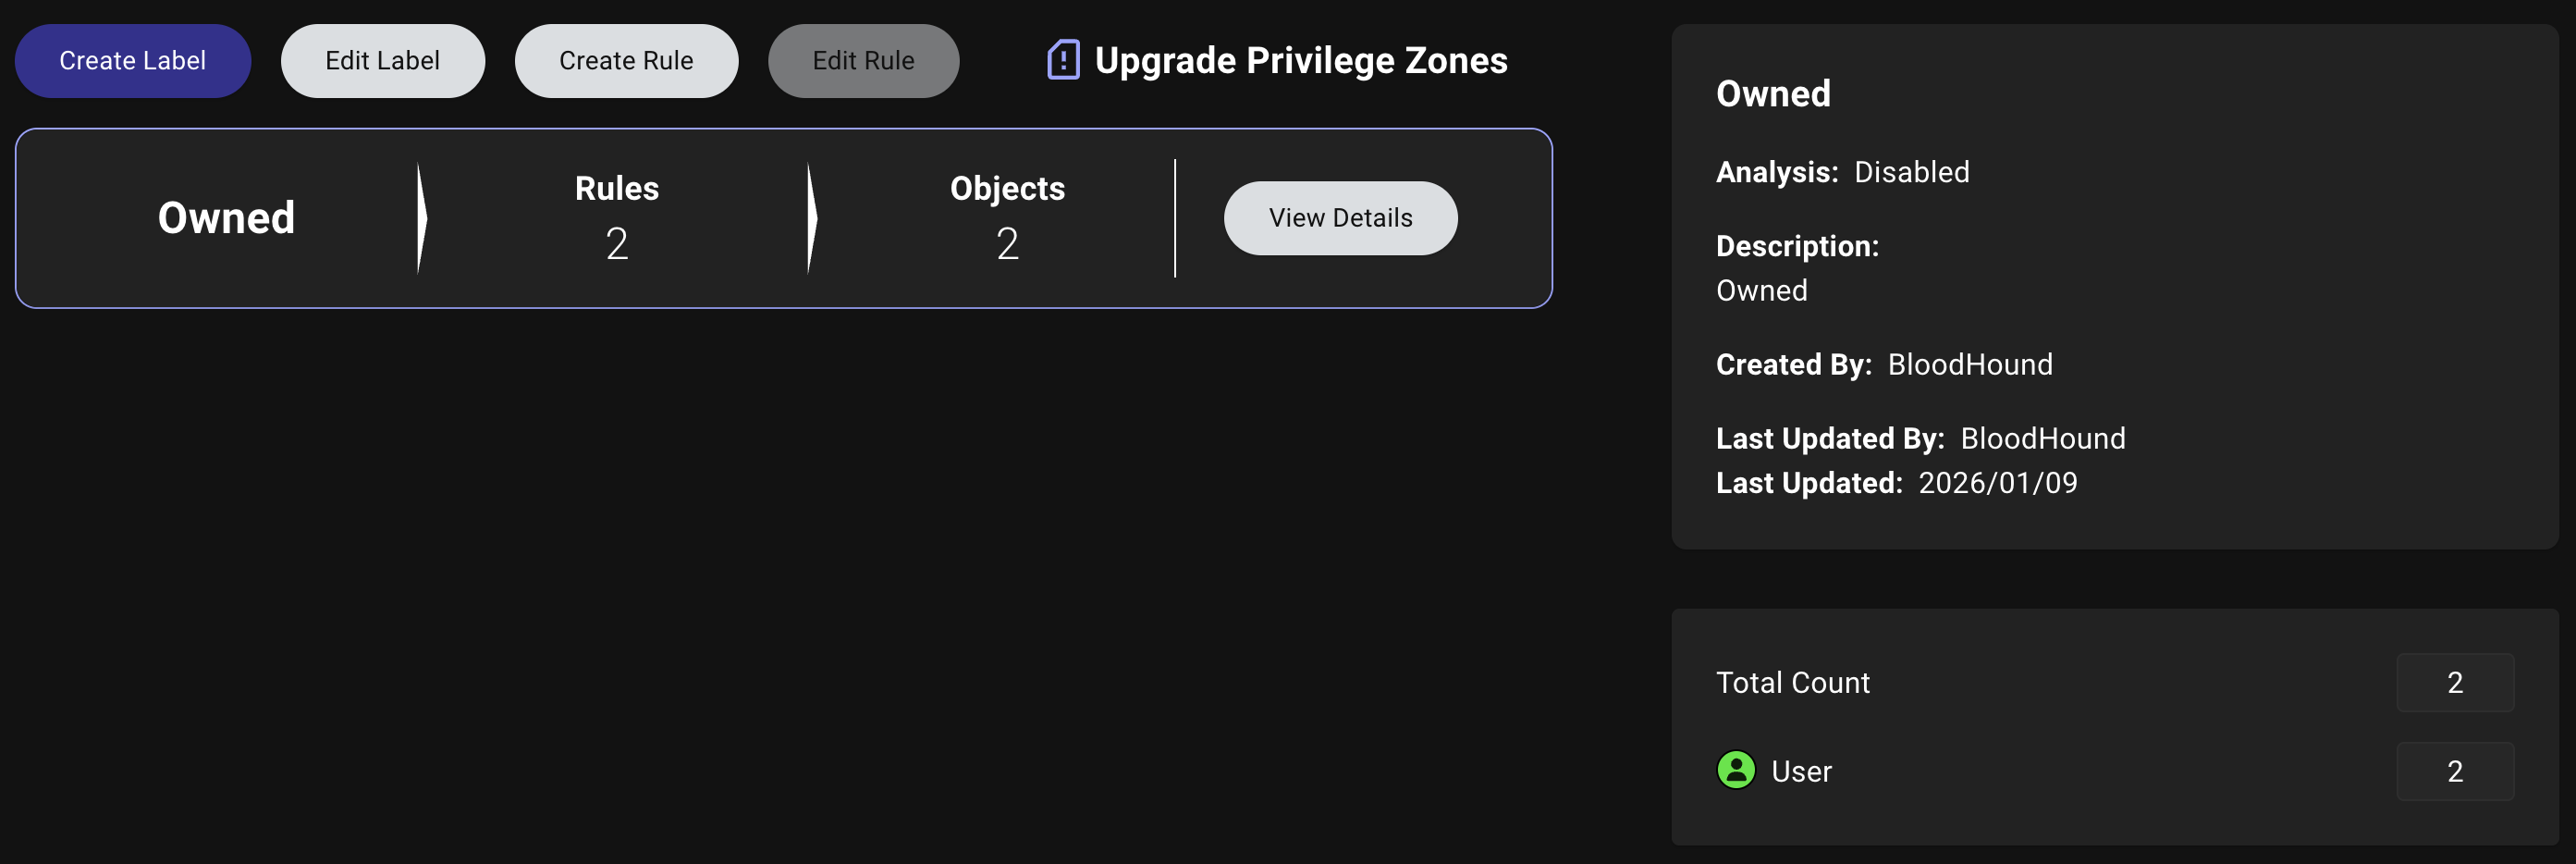
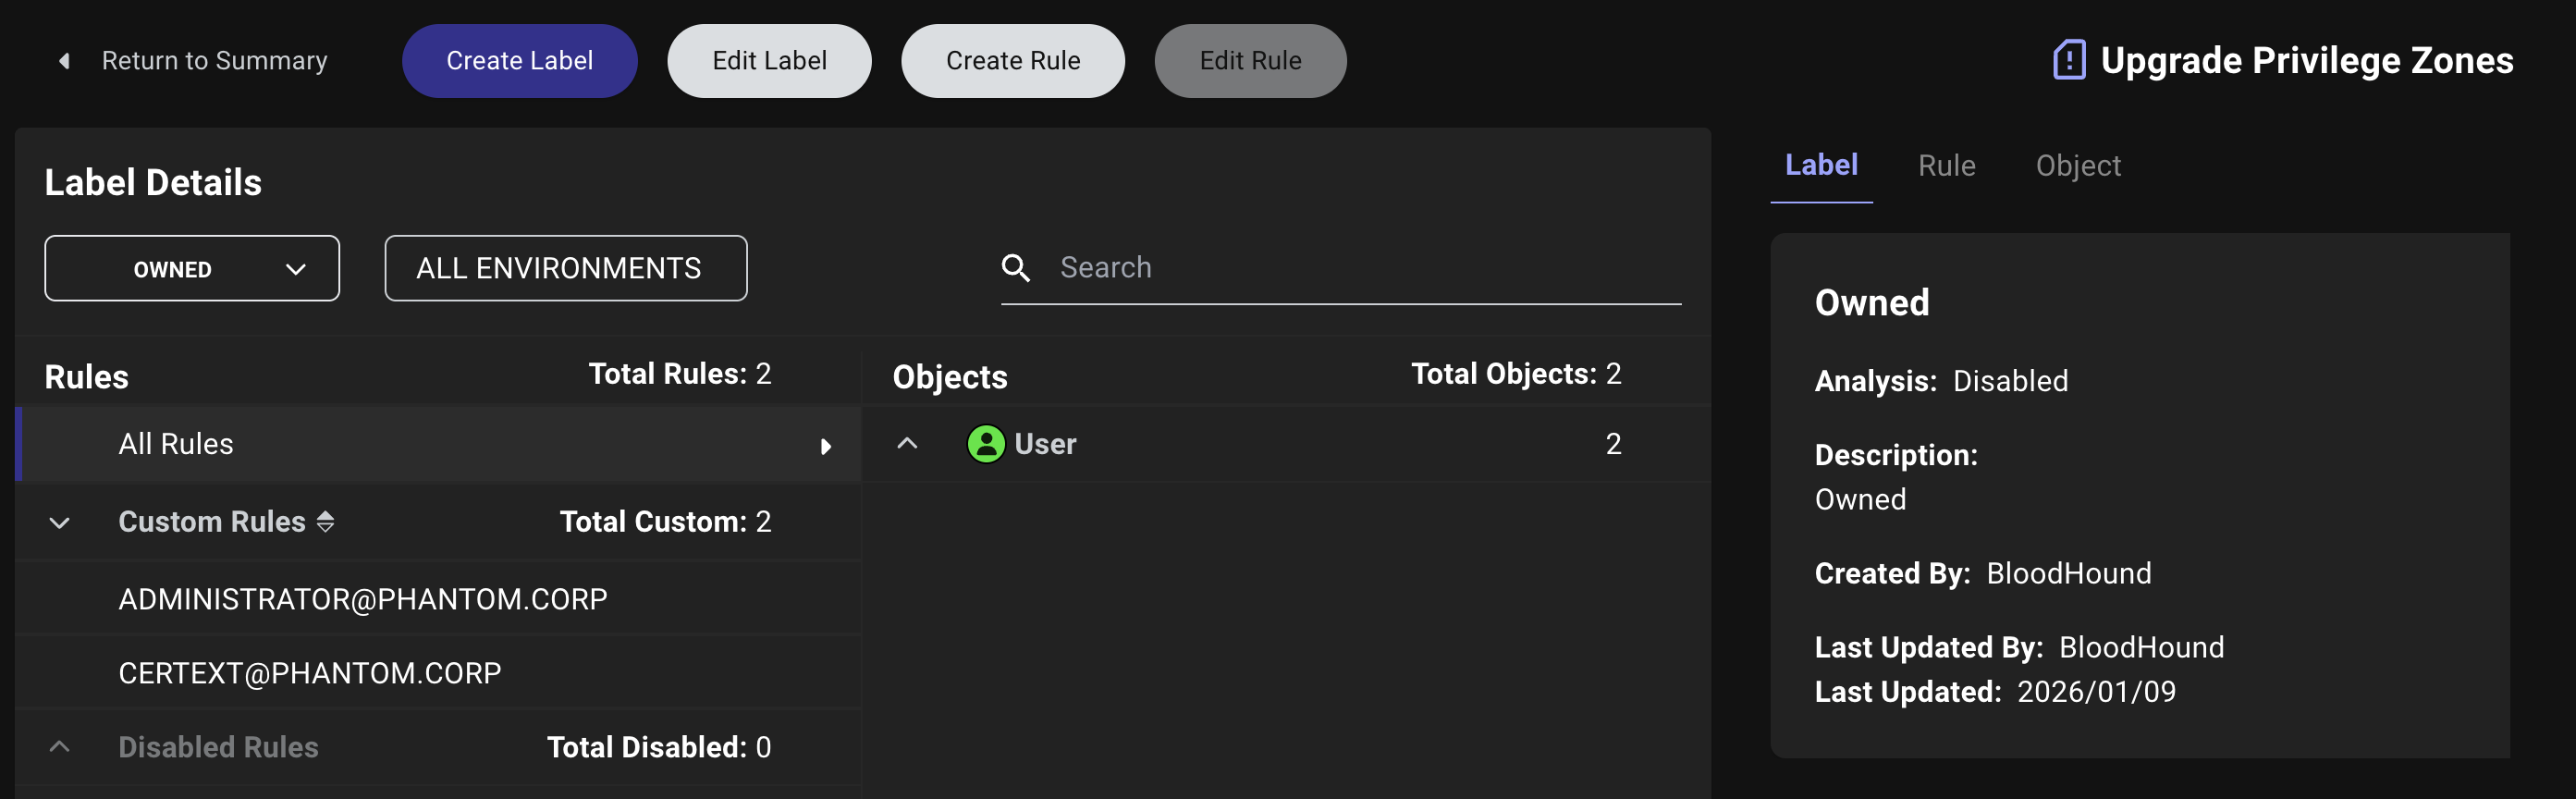
Create a label
 You can create custom labels to categorize objects based on any criteria relevant to your environment, such as business function, sensitivity level, or compliance requirements.
For example, you might create a label for PCI-scoped systems to quickly identify attack paths from non-PCI to PCI environments.
Creating a label involves configuring the label details and defining a rule.
You can create custom labels to categorize objects based on any criteria relevant to your environment, such as business function, sensitivity level, or compliance requirements.
For example, you might create a label for PCI-scoped systems to quickly identify attack paths from non-PCI to PCI environments.
Creating a label involves configuring the label details and defining a rule.
1
Open the Zone Builder page
In the left menu, click Privilege Zones > Labels > Create Label.
2
Configure initial label details
Enter all relevant information about the label: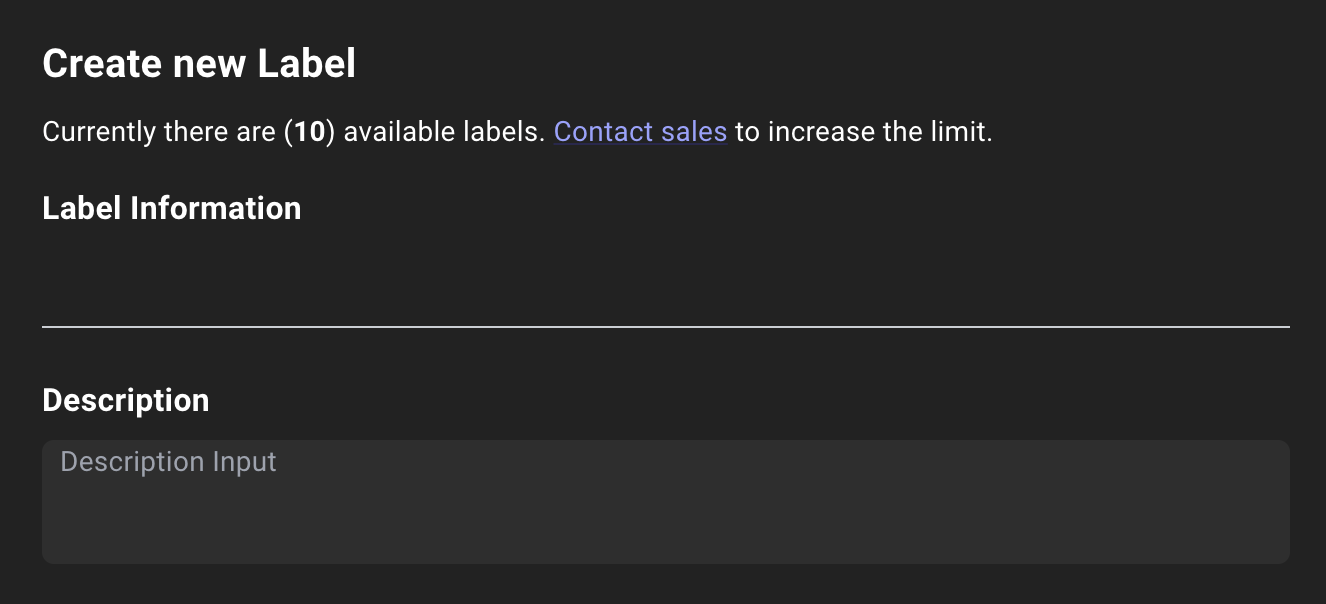
3
Define a rule
Click Define Rule to save your new label and continue on to define the objects to include in the label.When defining a rule during the label creation process, provide the following information: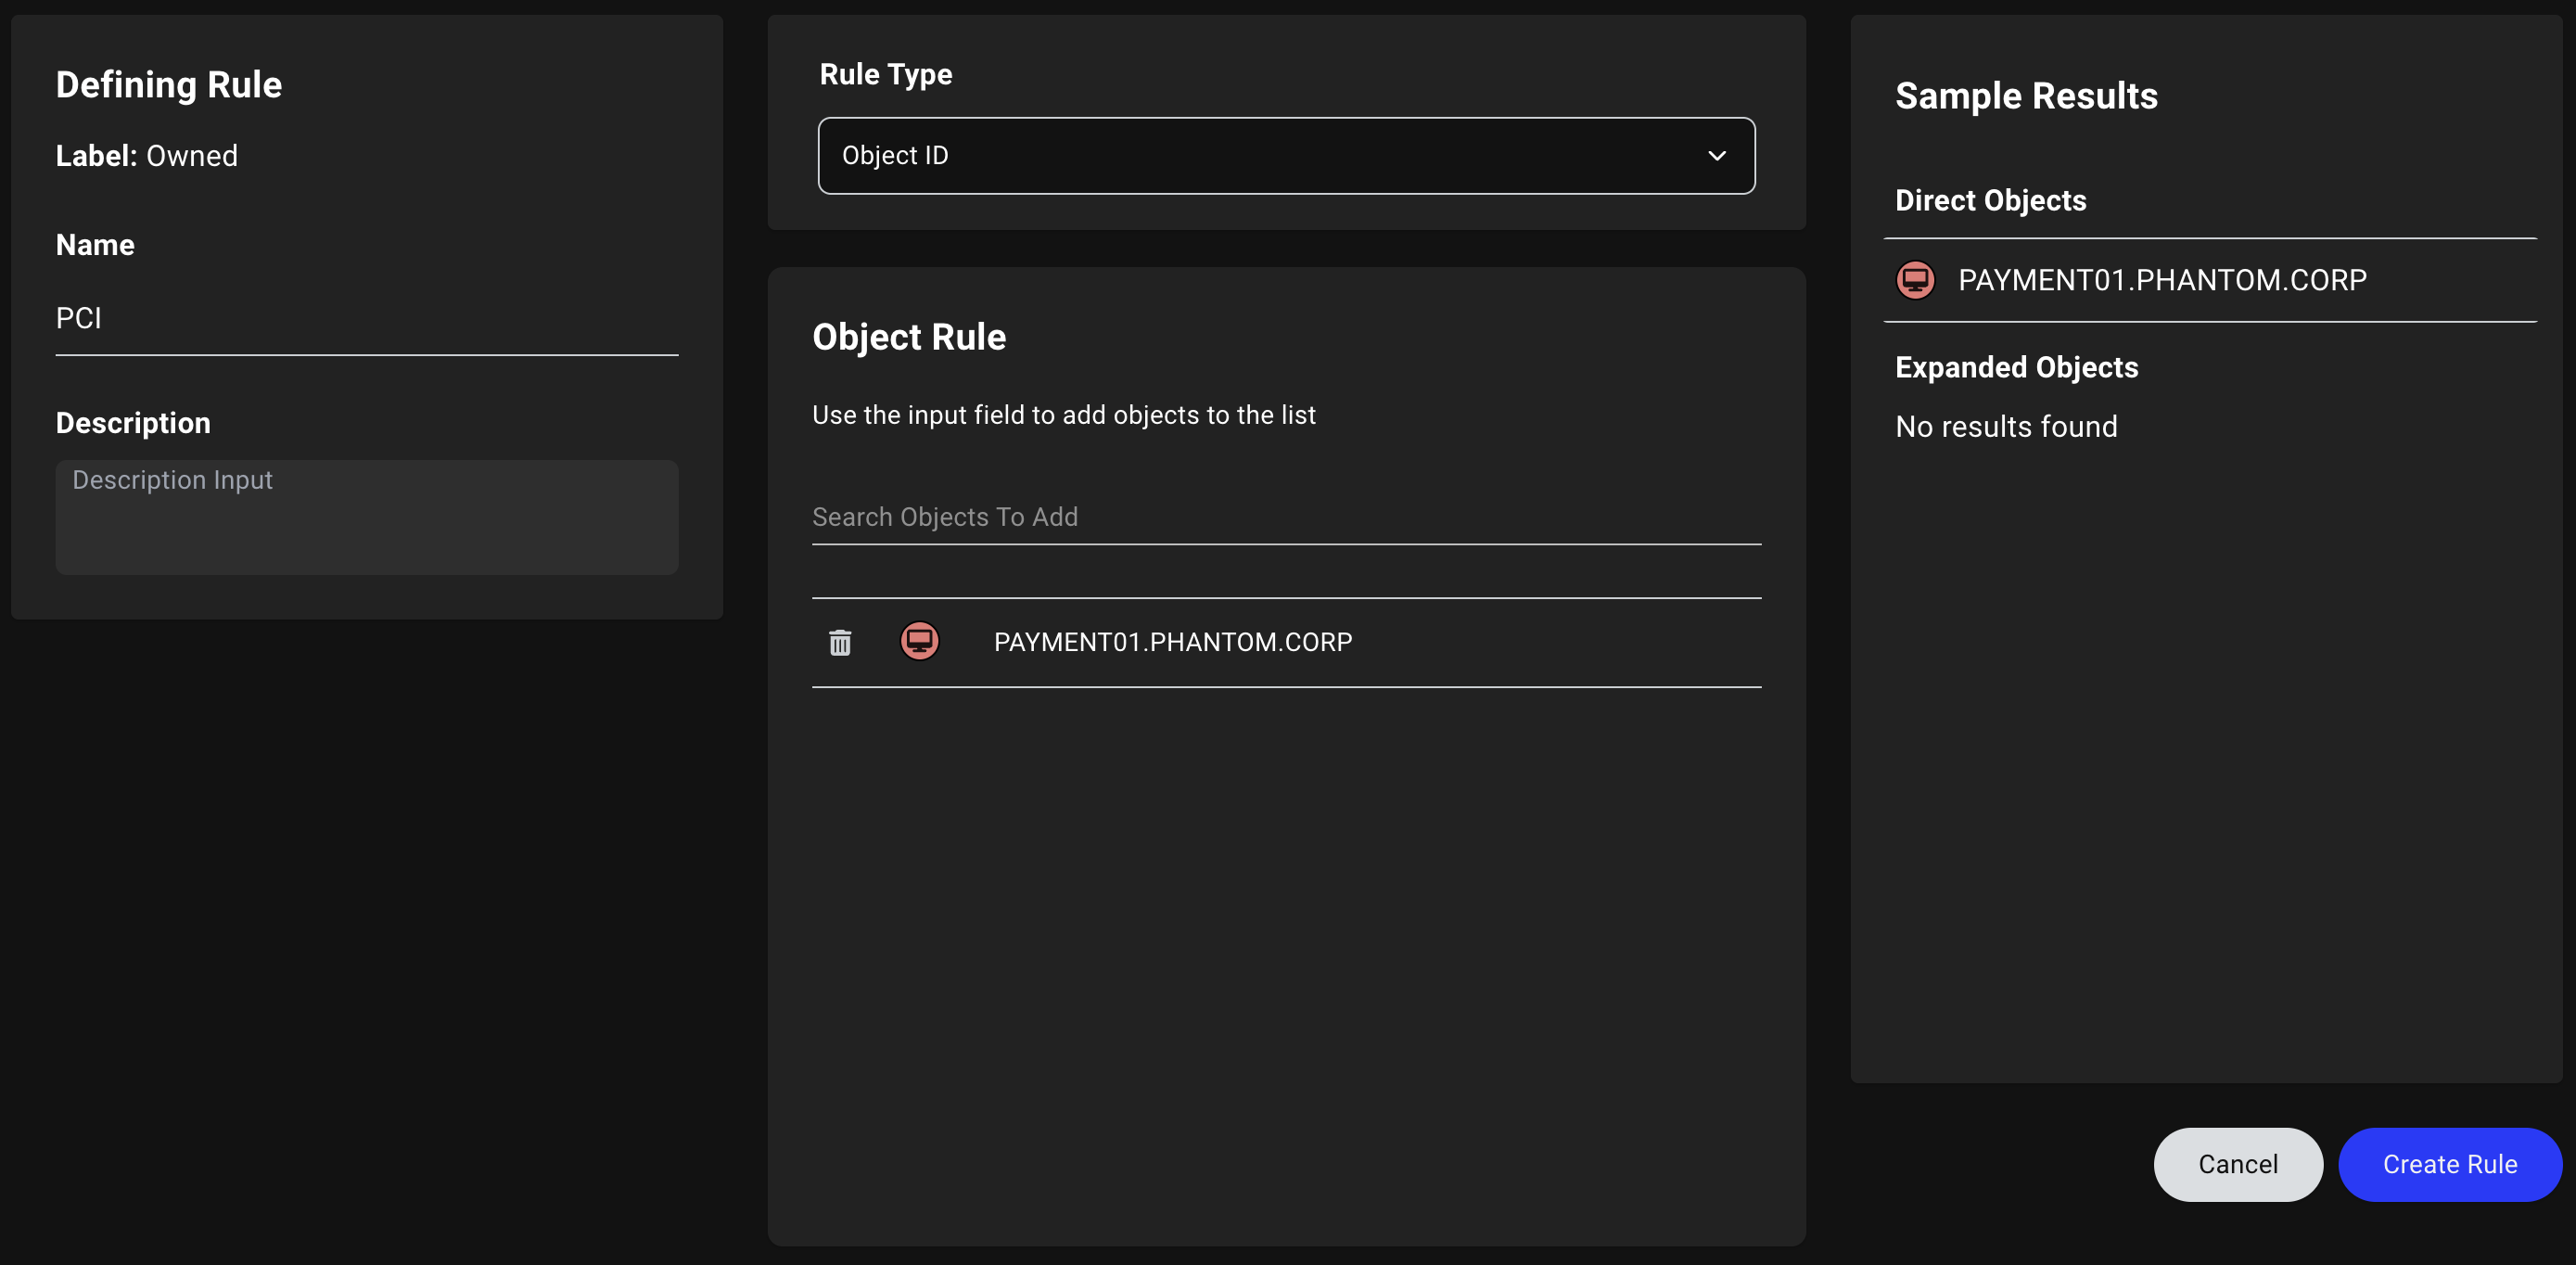
4
Complete label creation
Click Save to finish creating the label.
Edit a label
To edit a label, follow these steps:1
Select a label
- In the left menu, click Privilege Zones.
- Click the Labels tab
-
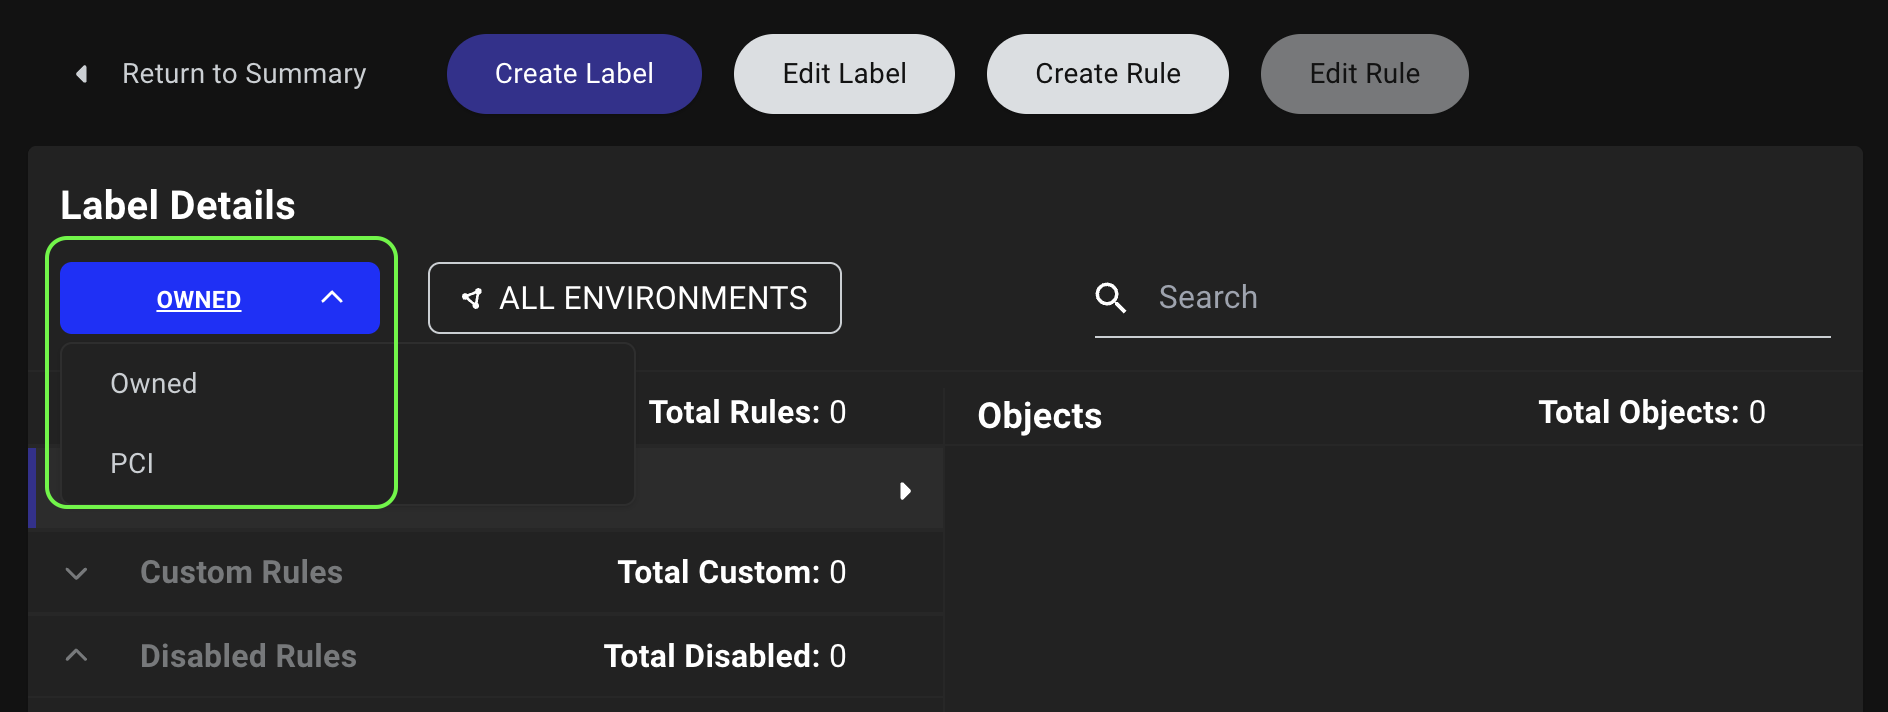
By default, the Owned label is pre-selected. To edit a different label, select the label you want to edit.
If you’re using BloodHound Enterprise, you can select a label from the Summary View.
- Click Edit Label.
2
Edit the label
To edit the label:
- Modify the label’s name or description.
- Click Save Edits to apply your changes.
Delete a label
You cannot delete the default Owned label, but you can edit its description and rules.
To delete an existing label, follow these steps:
1
Select a label
Navigate to the Labels tab, select the label you want to delete, and click Edit Label.
2
Delete the label
To delete the label:
- Click Delete Label at the top of the page.
-
Confirm your action in the dialog.
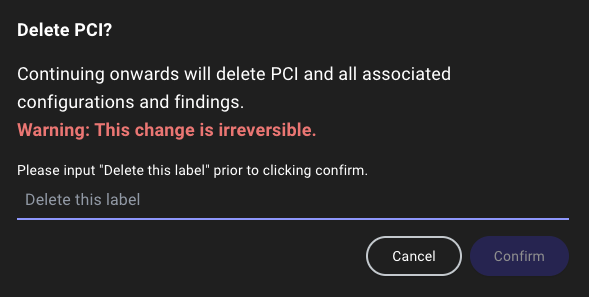
- Click Confirm to delete the label.