

 Use this guide to install SharpHound Enterprise on a domain-joined Windows server, upgrade an existing installation, or perform a headless installation for automated deployment workflows.
Before you begin
- Deploy a domain-joined Windows server for the service. For requirements and deployment guidance, see SharpHound Enterprise System Requirements and Deployment Process.
- Sign in to BloodHound Enterprise with a user role that is authorized to download SharpHound Enterprise installation binaries. For role details, see User Role Definitions.
Install SharpHound Enterprise
1
Open the Download Collectors page
Sign in to your BloodHound Enterprise tenant.In the left menu, click Download Collectors.
2
Download the latest archive
Click the latest SharpHound Enterprise version to begin downloading the 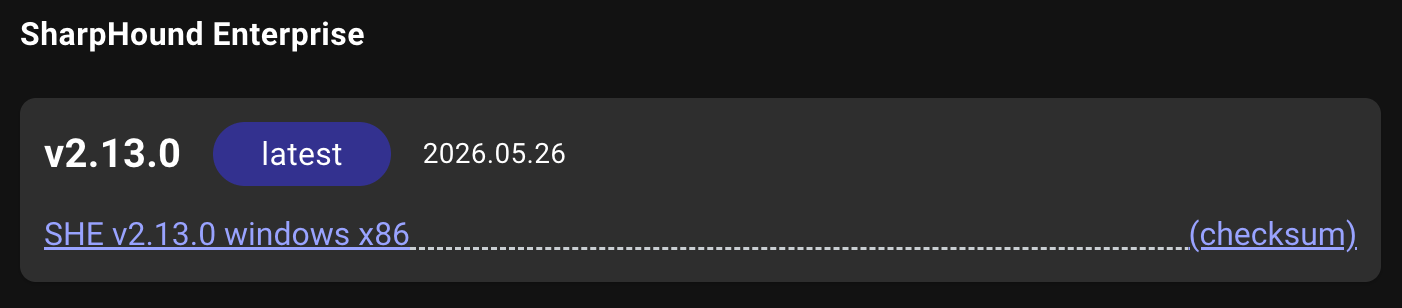
.zip archive.3
Prepare the target server
Connect to the server where you want to install the SharpHound Enterprise service.Confirm that your SharpHound service account is a member of the local Administrators group.
4
Extract the archive
Copy the downloaded
.zip archive to the target server and extract it.5
Install the service
Choose one of the following installation methods:
- Interactive
- Headless
Use this method for standard installations where you can interact with the installer UI.
- Run SHSetup-v#.#.#.exe as an administrator.
-
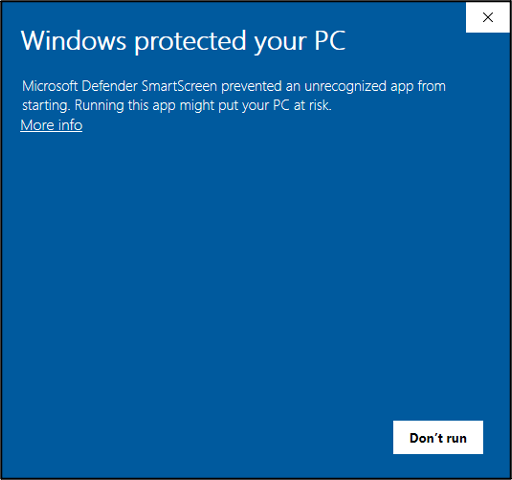
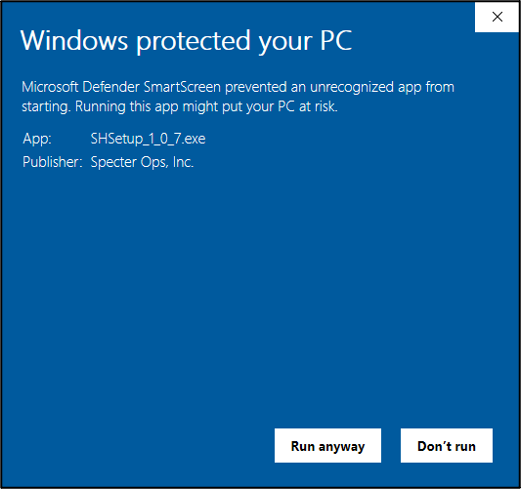
If Microsoft Defender SmartScreen displays the following warning, click More info.
Confirm that the publisher is Specter Ops, Inc., then click Run anyway.
-
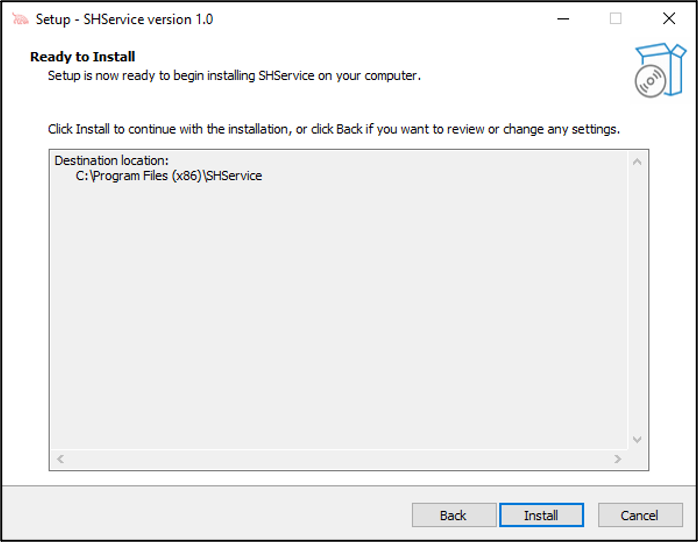
Select the installation path, then click Next.
We recommend a path that low-privileged users cannot write to, such as the default
C:\Program Files (x86)\SHService.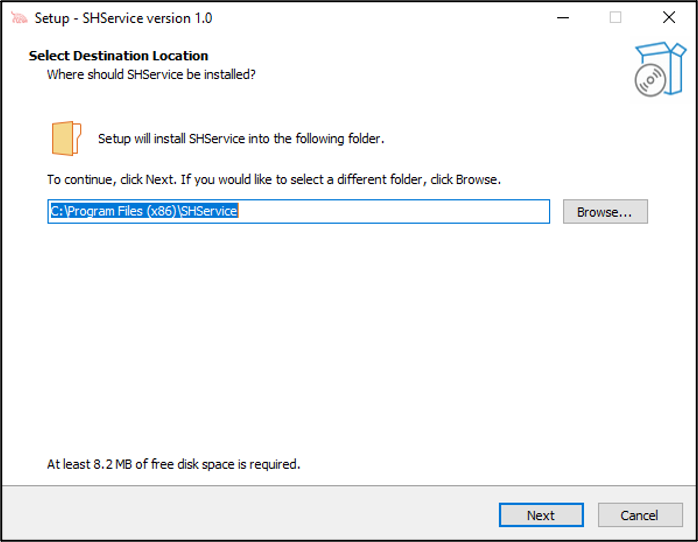
-
Click Install.
-
Enter the SharpHound service account credentials in the format
DOMAIN\username. If you use a gMSA, follow the guidance in SharpHound hardening: enter credentials for a standard user account that has local administrator access during installation, then switch the service to the gMSA after installation as described in Add the gMSA to the SharpHound Enterprise service.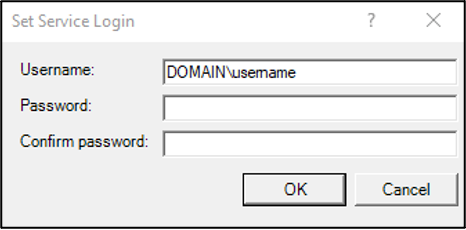
-
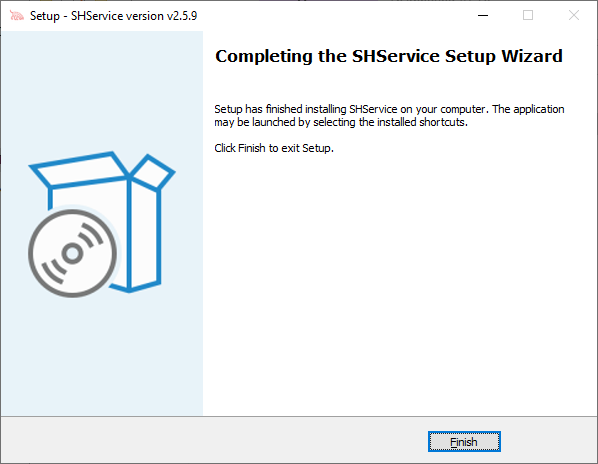
Click Finish.
6
Confirm that the service is installed
Confirm that the SharpHoundDelegator service is present.Interactive installation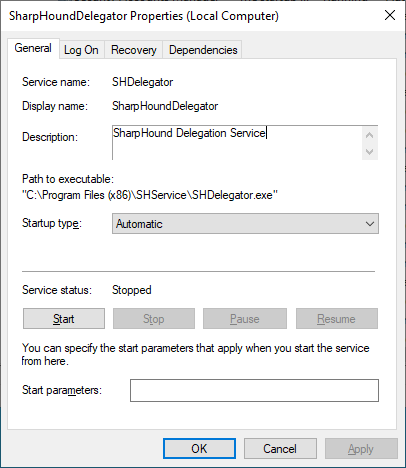
If you do not see the service, see I don’t see the SharpHoundDelegator service.
7
Switch the service account to a gMSA if needed
If you use a gMSA, change the service to run as the gMSA as described in Add the gMSA to the SharpHound Enterprise service.
8
Initialize the configuration directory
Start the service once.For headless installations, run the following command:This initial startup fails, but it creates the configuration and log directory in the service account’s user profile:
%AppData%\BloodHoundEnterprise.9
Configure the service
Update
settings.json and auth.json as described in SharpHound Enterprise Local Configuration.In most environments, update the following values:- In
settings.json, setRestEndpointto your BloodHound Enterprise tenant domain in the formatCODENAME.bloodhoundenterprise.io. - In
settings.json, if you use a proxy, setProxyin the formatproxy.acme.com:8080. - Create a BloodHound Enterprise collector client, then set
TokenandTokenIDinauth.jsonto the generated values.
10
Start the service and verify readiness
Start the service.For headless installations, run the following command:Return to BloodHound Enterprise and confirm that the client reports 🟢 Ready.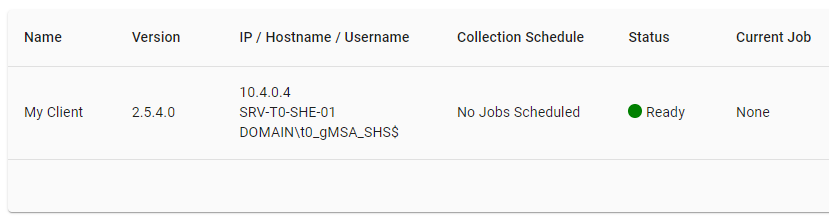
If the service does not start, see The SharpHoundDelegator service won’t start.
Upgrade SharpHound Enterprise
1
Open the Download Collectors page
Sign in to your BloodHound Enterprise tenant.In the left menu, click Download Collectors.
2
Download the latest archive
Click the latest SharpHound Enterprise version to begin downloading the
.zip archive.3
Run the installer on the SharpHound server
Connect to the SharpHound Enterprise server.Extract the
.zip archive, then run SHSetup-v#.#.#.exe as an administrator.4
Complete the upgrade
Click Finish.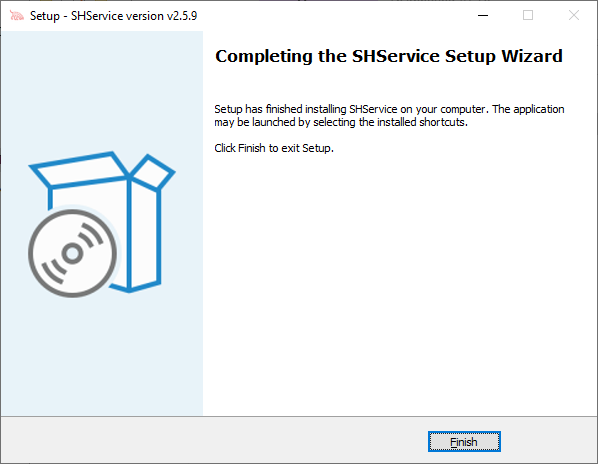
5
Start the service
Start the SharpHoundDelegator service.
If the service does not start, see The SharpHoundDelegator service won’t start.
6
Verify the upgrade
Confirm that the service starts successfully and resumes normal communication with BloodHound Enterprise.
Common installation issues
I don’t see the SharpHoundDelegator service
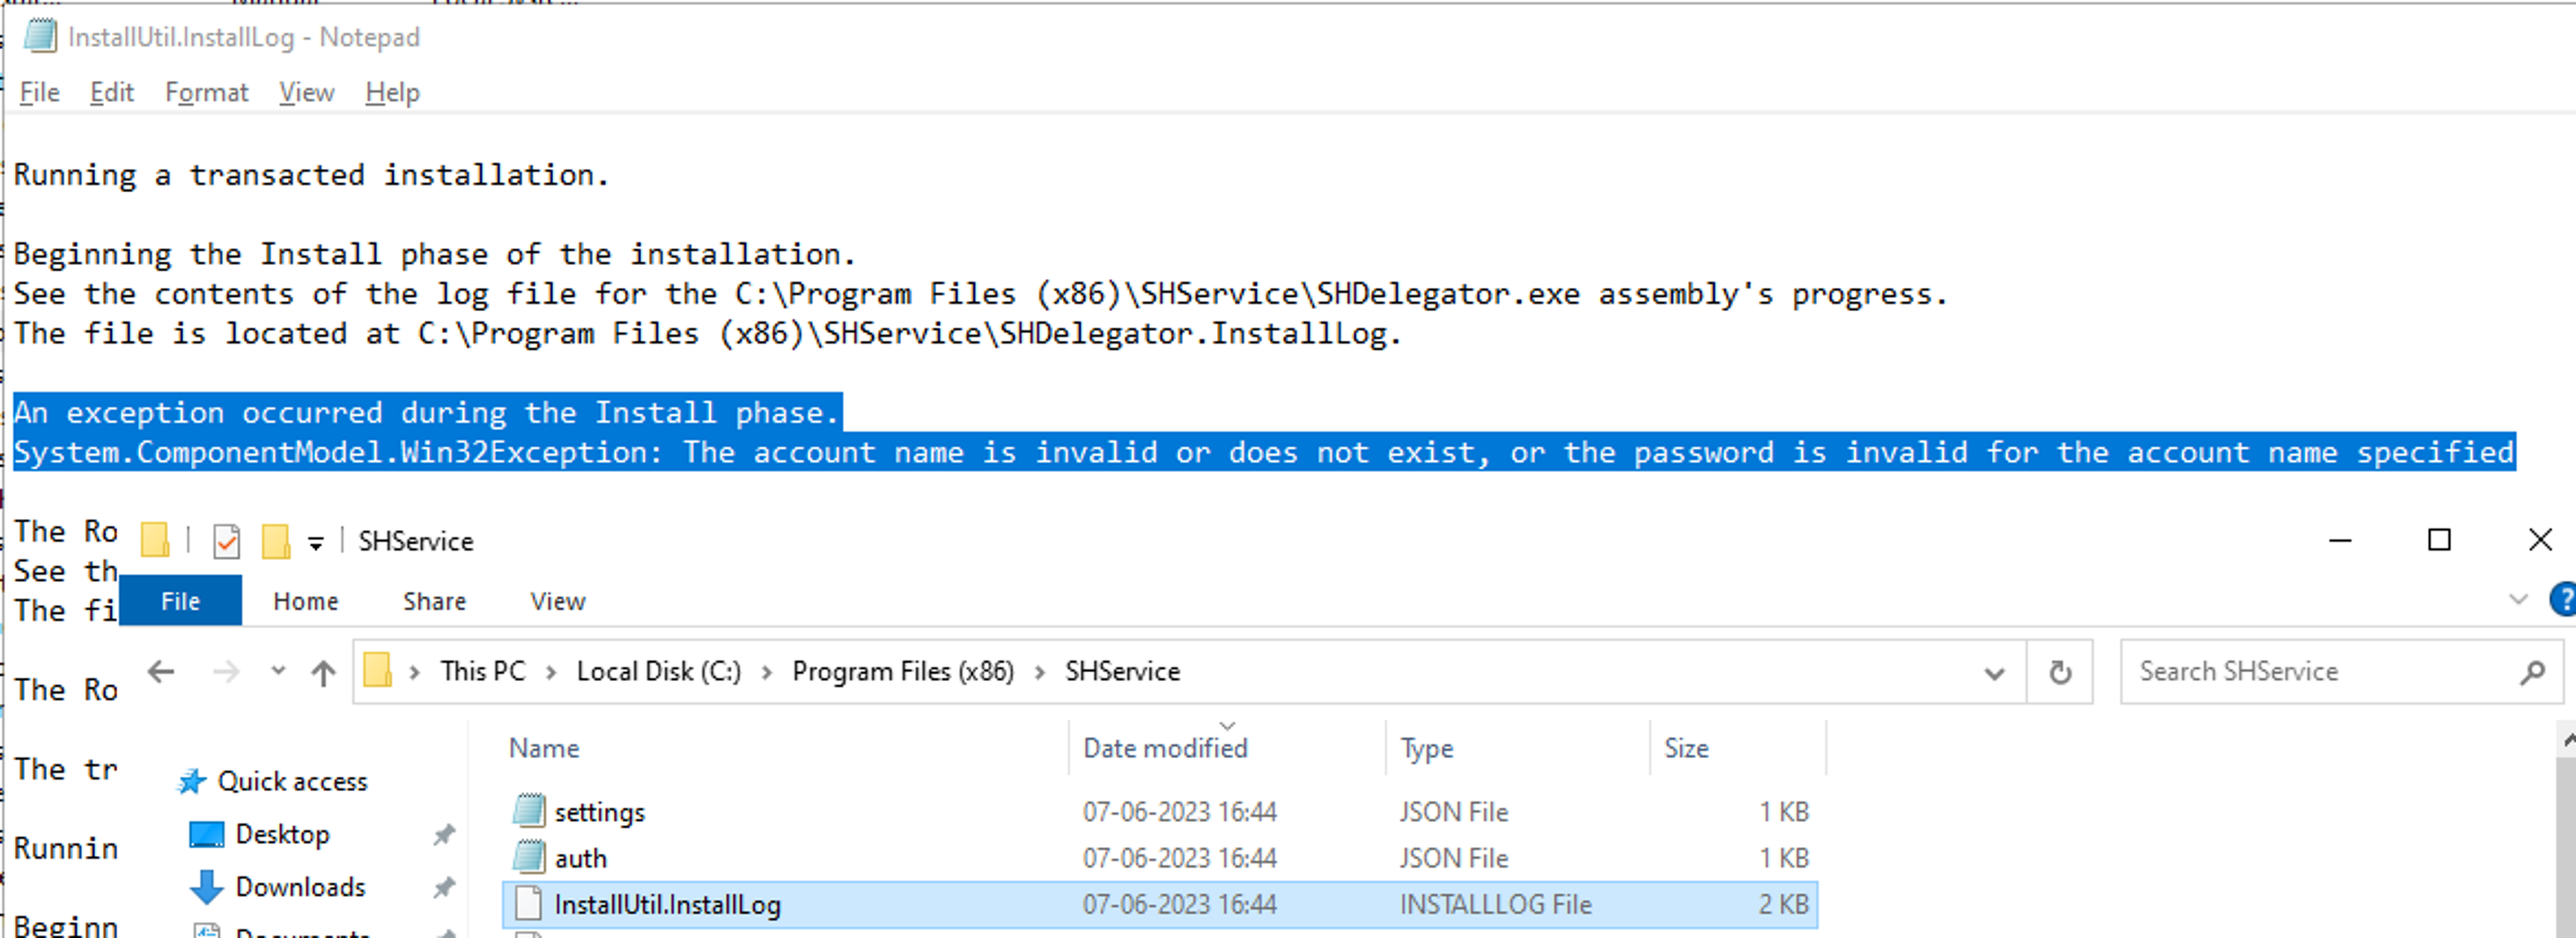
This issue most often has one of the following causes:- The service account was not added to the local Administrators group before installation.
- The credentials entered during installation were incorrect.
InstallUtil.Install.Log in the installation directory. The default path is C:\Program Files (x86)\SHService\InstallUtil.Install.Log.
The SharpHoundDelegator service won’t start
Check theTempDirectory value in settings.json as described in SharpHound Enterprise Local Configuration.
If TempDirectory is null, the service account does not have local administrator privileges. Add the service account to the local Administrators group, then restart the service.
If TempDirectory is set to a directory, open that directory, locate service.log, and review the logged errors. Common issues include:
RestEndpointcannot be resolved.- Confirm that
RestEndpointmatches your BloodHound Enterprise tenant domain in the formatCODENAME.bloodhoundenterprise.io. - Confirm that the host can resolve the domain from a command prompt.
- Confirm that
RestEndpointcannot be reached, such as by timeout or connection refusal.- Confirm that firewall exclusions for your BloodHound Enterprise tenant are configured correctly.
- If you need an explicit proxy, configure it in
settings.json. - Confirm TLS 1.2 connectivity to your BloodHound Enterprise tenant over port
443.